Whirlybird Vent Installation in Gauteng
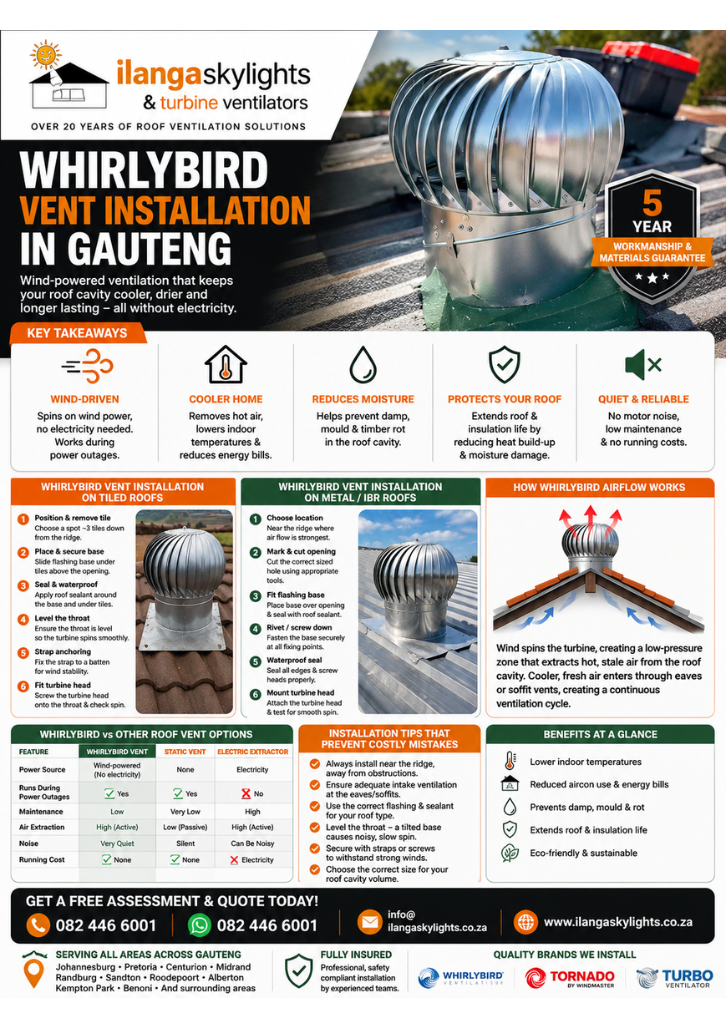
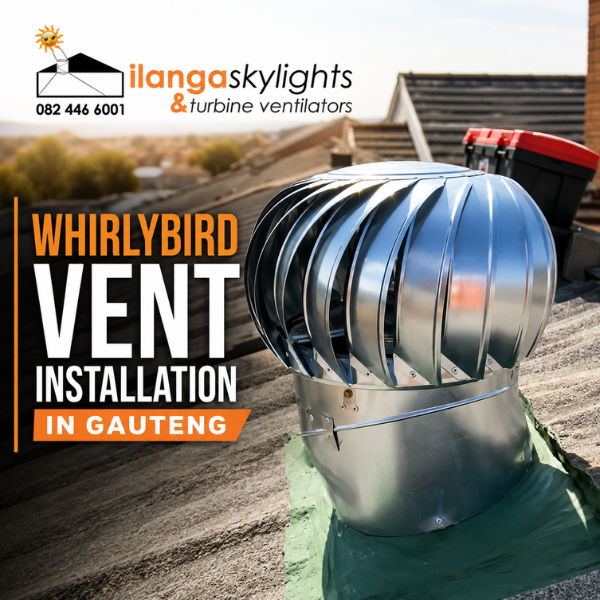
Whirlybird vent installation in Gauteng involves fitting a wind-driven turbine near the roof ridge to draw hot, trapped air out of the ceiling cavity without using electricity. Ilanga Skylights & Roof Turbine Ventilators has handled whirlybird vent installation across Gauteng for more than 20 years, working on tiled, IBR and flat roofs from Johannesburg to Pretoria. The process is precise: it calls for correct positioning, a level throat base, thorough waterproofing and a securely mounted turbine head, and getting any one of those steps wrong can lead to leaks or a unit that spins itself loose in strong wind.
Table of Contents
- Why Whirlybird Vent Installation Matters in Gauteng
- Key Takeaways
- Whirlybird Vent Installation on a Tiled Roof
- Whirlybird Vent Installation on a Metal or Tin Roof
- How Whirlybird Airflow Works
- Whirlybird vs Other Roof Ventilation Options
- Installation Tips That Prevent Costly Mistakes
- Frequently Asked Questions
Key Takeaways
| Operational Goal | What It Means for Your Roof |
|---|---|
| Passive, wind-driven extraction | No electricity needed, so the unit keeps working during power outages |
| Correct ridge-line placement | Maximises airflow between rafters and avoids structural interference |
| Level throat and sealed flashing | Prevents water ingress around tiles or metal sheeting |
| Strap-anchored base | Stops the turbine lifting or rattling in Gauteng’s summer storm winds |
| Balanced intake ventilation | Soffit or eave vents are required so the whirlybird has air to pull from |
Why Whirlybird Vent Installation Matters in Gauteng
Roof cavities across Gauteng regularly trap superheated air during the region’s long, high-UV summers, with nowhere for that heat to go without active ventilation. A correctly completed whirlybird vent installation in Gauteng pulls this hot air out continuously, easing the load on ceiling insulation and reducing the temperature swing felt indoors. Because the turbine spins purely on wind movement, it keeps extracting air even during power outages, unlike electric extractor fans that stop the moment supply drops.
This passive design is one reason whirlybird vent installation in Gauteng has grown steadily in demand, particularly among households near Sandton and Nelson Mandela Square looking for reliable, low-maintenance roofing upgrades. A properly fitted roof-mounted ventilation system also protects timber battens and roof structures from long-term heat and moisture damage, extending the roof’s lifespan.
Gauteng’s climate, spanning the Highveld plateau with its seasonal hailstorms and strong summer winds, makes ventilator selection and fitting especially important. A whirlybird that isn’t anchored or sealed correctly is more likely to fail during a storm than one installed to manufacturer specification. This is why Ilanga Skylights & Roof Turbine Ventilators approaches every roof turbine ventilator job with the same structural checks used on commercial sites, across Gauteng province‘s urban core and outer suburbs alike.
Whirlybird Vent Installation on a Tiled Roof
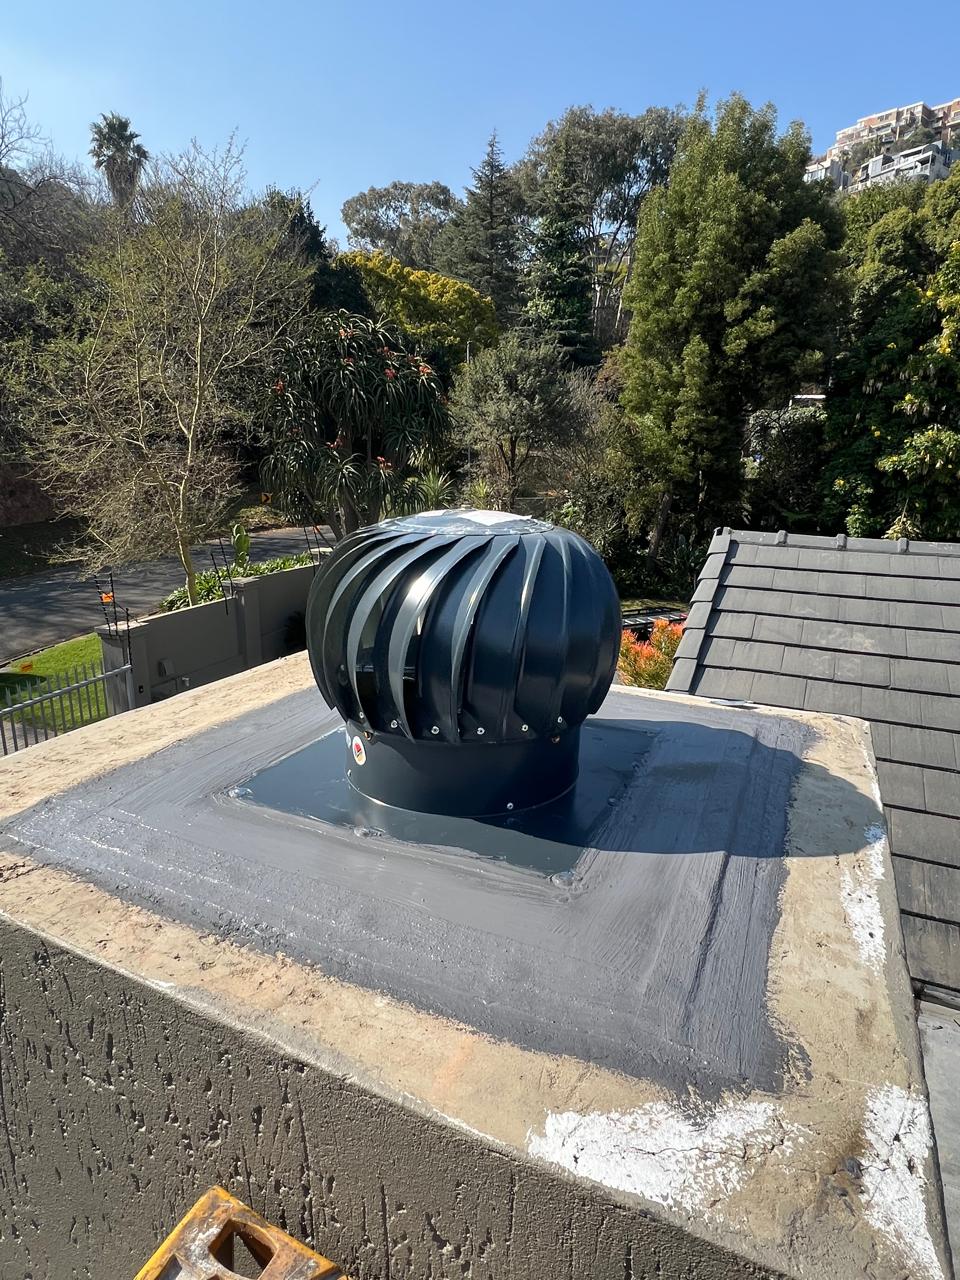
Whirlybird vent installation in Gauteng on a tiled roof follows a fixed sequence, and each step protects the tile line above and below the unit from future leaks.
Tiled Roof Steps
Whirlybird vent installation in Gauteng on tiled roofs starts roughly three tiles down from the ridge, over a gap between rafters. One centre tile is removed, the flashing base is slid under the tiles above, the throat is levelled and locked, a fixing strap anchors it to a batten, and the turbine head is screwed onto the levelled throat.
- Position and remove the tile: Find a spot roughly three tiles down from the ridge, between rafters, then lift out the centre tile to open the space.
- Place and secure the base: Slide the flashing base’s top edge under the tiles above the opening so water sheds over it naturally.
- Level the throat: Adjust the variable pitch throat until flat, then lock it with the supplied screws.
- Anchor with a strap: Hook the fixing strap to the throat base, run it into the cavity, and screw it into the nearest batten.
- Form the flashing and fit the head: Shape the soft flashing edges around the tile contours, then screw the turbine head onto the level throat.
Whirlybird Vent Installation on a Metal or Tin Roof
Metal roofing calls for a different cutting and sealing approach compared with tiles, since there’s no overlapping tile course to tuck the flashing under.
Metal Roof Steps
On metal or tin roofs, the flashing base overlaps the ridge cap and is used as a cutting template, the hole is cut with tin snips or a jigsaw, the base is screwed to the roof ribs with rubber-washered fasteners, silicone sealant covers every seam, and the turbine head is locked onto the levelled throat.
- Mark the template: Position the flashing base high on the roof, overlapping the ridge cap, then trace a circular guide using the throat as a template.
- Cut the hole: Drill a starter hole and cut the circle with tin snips or a jigsaw, turning the cut edges up slightly to block wind-driven rain.
- Install the base: Loosen nearby ridge cap screws, tuck the base underneath, and fasten it to the roof ribs with rubber-washered screws.
- Level and waterproof: Twist the variable elbow until level, then apply silicone generously around every seam, screw head, and flashing edge.
- Mount the turbine: Push the head over the levelled throat, align the pre-drilled points, lock it with sheet metal screws, and spin it to confirm free rotation.
How Whirlybird Airflow Works
Every successful whirlybird vent installation in Gauteng depends on a balanced airflow system, not just the turbine itself. Hot air rises into the roof cavity, gets pulled out through the spinning turbine head, and is replaced by fresh air drawn in through soffit or eave vents lower down the roofline. Without that intake path, the whirlybird has nothing to extract and its effect on ceiling temperature is minimal.
        WIND
         |
         v
   [ TURBINE HEAD ]  <-- spins, draws air out
         |
         ^  hot air rising
         |
  ================== ROOF CAVITY ==================
         ^                              ^
         |                              |
   [ SOFFIT VENT ]              [ EAVE VENT ]
         ^                              ^
     fresh air in                fresh air in
This intake-and-exhaust balance is the same principle behind well-ventilated skylight installation work. Getting it right separates a whirlybird that noticeably cools a roof space from one that spins without much practical effect.
Whirlybird vs Other Roof Ventilation Options
Homeowners weighing whirlybird vent installation in Gauteng against other ventilation methods should compare running cost, maintenance and reliability during outages.
| Ventilation Type | Power Source | Works During Power Outages | Typical Maintenance |
|---|---|---|---|
| Whirlybird turbine ventilator | Wind-driven, passive | Yes | Low, occasional bearing check |
| Electric extractor fan | Mains electricity | No | Moderate, motor servicing |
| Static ridge vent | Passive, no moving parts | Yes | Very low |
| Skylight with vented panel | Passive, manual or wind-assisted | Yes | Low |
For homes already considering a dome skylight for natural light, pairing it with a whirlybird on the opposite roof plane often improves airflow without adding a second electrical load.
Installation Tips That Prevent Costly Mistakes
A whirlybird vent installation in Gauteng that skips the basics tends to fail early, usually through water ingress or wind damage.
Common Mistakes to Avoid
The most frequent whirlybird vent installation mistakes are skipping soffit or eave intake vents, under-sealing the flashing on metal roofs, and failing to anchor the base with a fixing strap, all of which shorten the unit’s working life and increase leak risk.
- Balance intake and exhaust: A whirlybird is an exhaust vent only, so soffit or eave vents must be in place for it to draw fresh air through the roof space effectively.
- Seal thoroughly on metal roofs: Every seam, screw head and flashing edge needs a generous, even bead of roof and gutter silicone to stop water tracking back under the sheeting.
- Anchor against wind: The metal fixing strap is not optional in Gauteng’s storm season; it stops the unit lifting or working loose over time.
- Work safely at height: A stable ladder, safety gloves for cut metal or tiles, and a harness on steeper pitches are standard practice.
If an older whirlybird or surrounding roof section is already showing wear before a new installation begins, it’s worth having it assessed alongside the new unit; the team’s skylight repair service often picks up flashing issues that would otherwise undermine a fresh fitting. Homeowners budgeting for the work can review typical cost factors in the guide on skylight and ventilation pricing in South Africa before booking a site visit.
Every whirlybird vent installation in Gauteng completed by Ilanga Skylights & Roof Turbine Ventilators is backed by a 5-year workmanship and materials guarantee, carried out by fully insured teams experienced across pitched, flat, tiled and IBR roofs. Most installations finish within a week of the initial site visit, with manufacturer-backed hardware used throughout.
Frequently Asked Questions
How long does whirlybird vent installation in Gauteng typically take?
A single unit is usually fitted within a few hours on site, though full turnaround, including the site visit, is typically about a week.
Do whirlybirds work on both tiled and metal roofs?
Yes, whirlybird vent installation in Gauteng covers tiled, IBR and flat roofs, though the mounting and sealing method differs between tile and metal sheeting.
Will a whirlybird still spin without wind?
A whirlybird relies on wind and rising thermal air to turn, so it works with little wind on hot days but is less active in still, cool conditions.
How many whirlybirds does a typical Gauteng home need?
This depends on roof size and cavity volume; a site assessment determines whether one or multiple units are needed for even extraction.
Does a whirlybird replace the need for ceiling insulation?
No, a whirlybird reduces trapped heat but works best alongside proper insulation rather than in place of it.